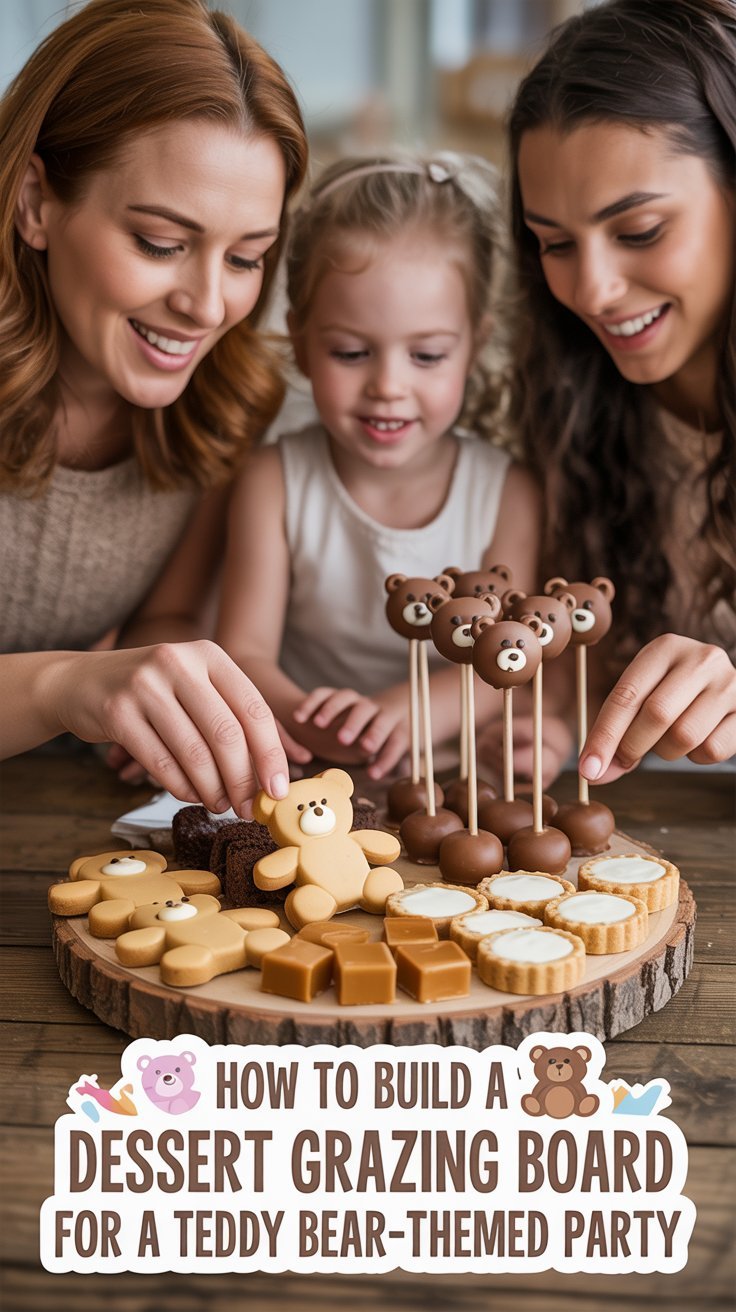
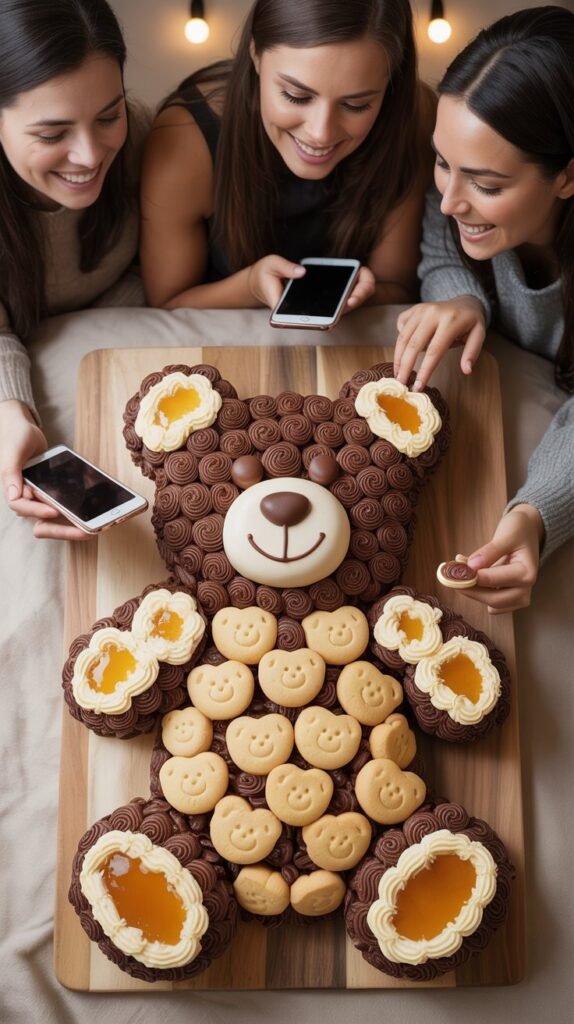
Transform your next celebration into a cuddly sweet paradise with an irresistible teddy bear dessert grazing board! This adorable party centerpiece combines the charm of childhood nostalgia with Instagram-worthy presentation that will delight guests of all ages.
Whether you’re planning a baby shower, children’s birthday, or just want to add whimsical fun to any gathering, these beary special treats create an interactive experience that guests won’t just photograph—they’ll remember forever! Let’s dive into creating the perfect teddy bear dessert board that’s as delicious as it is adorable!
Teddy Bear Dessert Board Planning Fundamentals
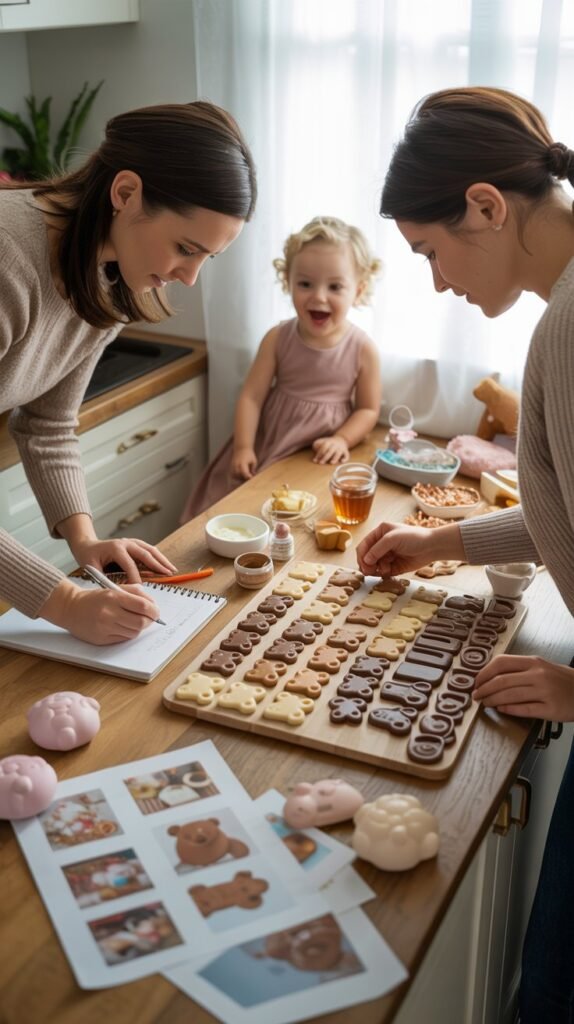
Set yourself up for sweet success with thoughtful planning before creating your teddy bear masterpiece! The right preparation ensures your board will be both adorable and actually edible:
Understanding Modern Dessert Board Approaches
Creating bear-y impressive displays that wow both eyes and taste buds:
Board Success Strategy:
- Theme Integration Priority: Strategic placement of obvious bear shapes creates immediate recognition without requiring every single item to be bear-shaped
- Visual Appeal Focus: Creating designated “moments” that naturally become Instagram photo spots for guaranteed social sharing
- Guest Consideration Strategy: Balancing kid-friendly options with sophisticated treats that adults genuinely enjoy rather than merely tolerate
- Practicality Integration: Ensuring your beautiful creation actually functions as food, not just decoration
- Age-Appropriate Selection: Adapting treat complexity based on whether primarily children or adults will be enjoying
- Temperature Consideration: Selecting items that maintain their appearance and safety throughout your entire event timeline
- Assembly Timing Planning: Creating a stress-free preparation schedule that prevents last-minute panic
Dessert grazing boards have evolved from simple cookie platters to artistic food displays that tell a sweet story through carefully selected treats! The teddy bear theme instantly creates nostalgic magic that connects with almost everyone—who doesn’t have childhood memories of a special teddy? The most successful boards strike that perfect balance between “too cute to eat” and “too delicious not to!” With strategic planning, you’ll create a board that guests photograph enthusiastically before happily devouring every bear-y delicious bite!


Board Selection Strategy
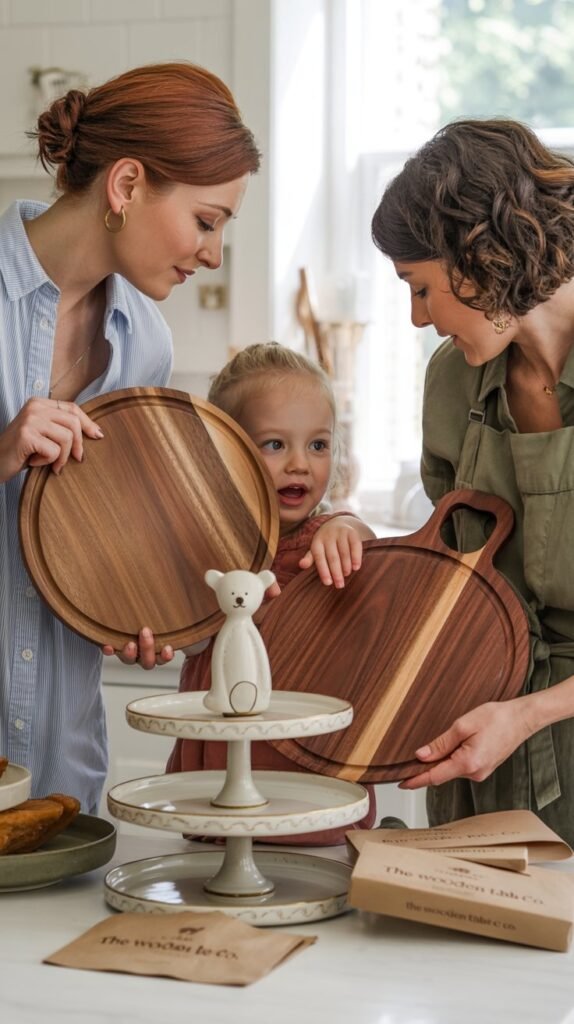
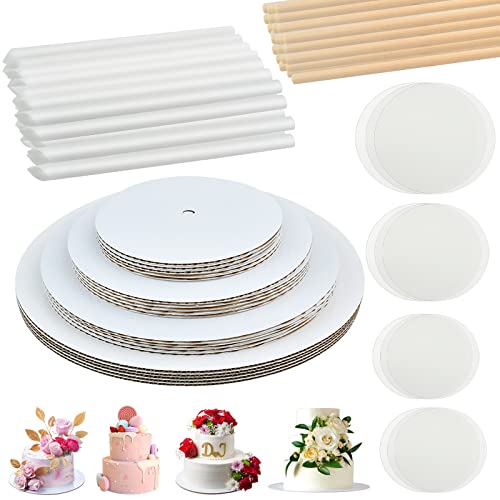
Don’t underestimate the importance of selecting the perfect foundation for your beary sweet creation! The right board makes assembly easier while enhancing your overall design:
Board Selection Excellence:
- Size Adequacy Consideration: Generous space prevents overcrowding and allows your design to breathe visually (think 16″ minimum for intimate gatherings, 24″+ for larger parties)
- Material Evaluation Focus: Food-safe surfaces that won’t transfer odors or stains to delicate sweets
- Visual Background Planning: Warm-toned woods that naturally complement honey and caramel colors without competing for attention
- Elevation Possibility Assessment: Multi-level displays create immediate visual interest with minimal decorating effort
- Edge Consideration: Raised borders prevent catastrophic rolling of round treats onto floors or laps!
- Transportation Needs: Handles or lightweight materials if you’ll need to move the completed display
- Serving Tool Integration: Space planning for honey dippers, tiny tongs, and other specialty serving pieces
The board you select creates the foundation for your entire teddy bear dessert experience! While rectangular boards offer more space for creating “scenes,” circular boards can better represent the round, cuddly nature of teddy bears. For larger gatherings, a combination of surfaces—perhaps a main board with satellite serving dishes—allows for more elaborate designs while making it easier for guests to access treats from different positions around the table.
Pro tip: Take photos of your empty board arrangement before adding food! This helps you remember your plan during assembly and provides a reference for rebuilding if items shift during transport. Consider placing tiny adhesive dots to mark positions of key focal elements for foolproof arrangement!


Teddy Bear Themed Treats
Dual approach designed for visual charm and delicious enjoyment.

Sweet Selection Categories
Creating an assortment of themed treats that delight the eye and palate:
| Bear-Shaped Foods | Bear-Colored Foods | Bear-Adjacent Treats | Interactive Elements |
|---|---|---|---|
| Teddy Graham Cookies | Honey-colored Candies | Honey Pots | Dipping Stations |
| Bear-shaped Chocolates | Brown Macarons | Mini Honeycomb | Build-your-own Bears |
| Cookie Cutout Bears | Caramel Popcorn | Woodland Berries | Edible “Stuffing” |
| Rice Krispie Bear Pops | Golden Caramels | Picnic Elements | Decorating Stations |
| Bear Cake Pops | Chocolate-dipped Pretzels | Forest Treats | Bear “Dress Up” |
| Teddy Bear Brownies | Maple Cookies | Porridge/Pudding Cups | Storytelling Elements |
| Marshmallow Bears | Brown Sugar Cookies | Paw Print Cookies | Photo Prop Treats |
Creating Bear-Themed Treats Successfully
Techniques for adorable yet delicious results:
- Color Scheme Priority: Warm honey tones and teddy bear browns
- Shape Integration Focus: Bear silhouettes and recognizable features
- Size Variation Strategy: Mixed scales for visual interest and serving options
- Texture Contrast Planning: Combining soft, crunchy, and chewy elements
- Flavor Balance Consideration: Sweet balanced with subtle savory notes
- Decoration Technique Enhancement: Simple ways to add bear faces and details
- Make-Ahead Elements: Preparation strategies for stress-free assembly
The most enchanting teddy bear boards combine store-bought shortcuts with a few homemade showstoppers. Don’t feel pressured to make everything from scratch! Simple touches—like adding candy eyes and a chocolate nose to a round cookie—can transform ordinary treats into bear-themed delights.
For busy hosts, focus your energy on 2-3 special homemade items and supplement with cleverly arranged purchased treats. Remember that consistency in color palette often creates more visual impact than perfect bear shapes, so embrace those warm honey and chocolate tones even in non-bear-shaped treats.


Dessert Board Assembly
Creating a visually stunning and deliciously functional display.
- Focal Point Priority: Creating teddy bear “moments” that anchor the design
- Balance Management Focus: Distribution of colors, shapes, and textures
- Flow Strategy: Creating intuitive pathways for easy serving
- Negative Space Consideration: Allowing design elements room to shine
- Abundance Creation: Techniques for a generous, plentiful appearance
- Height Variation Planning: Building dimension with strategic elevation
- Serving Practicality Enhancement: Ensuring beautiful design remains functional
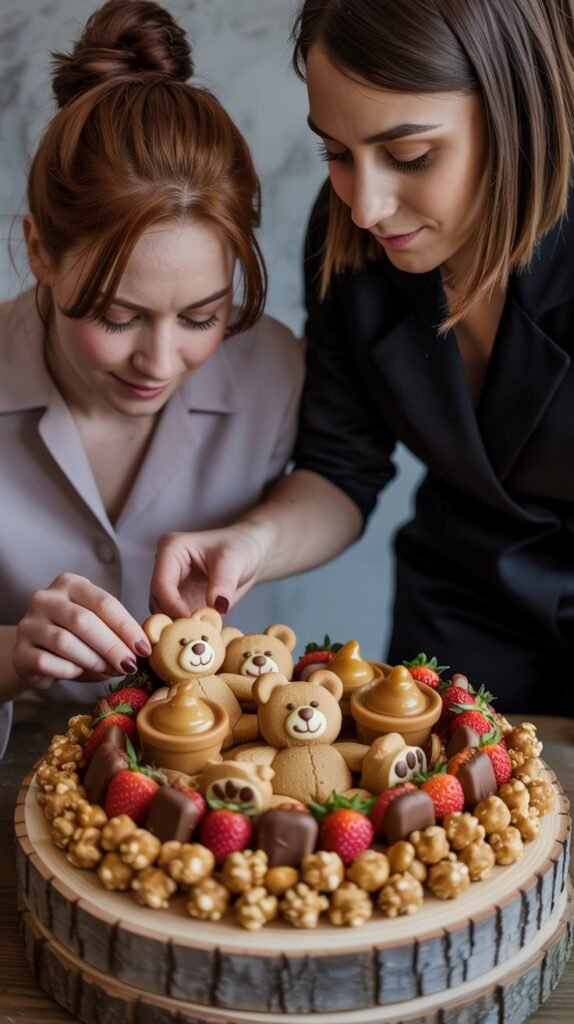
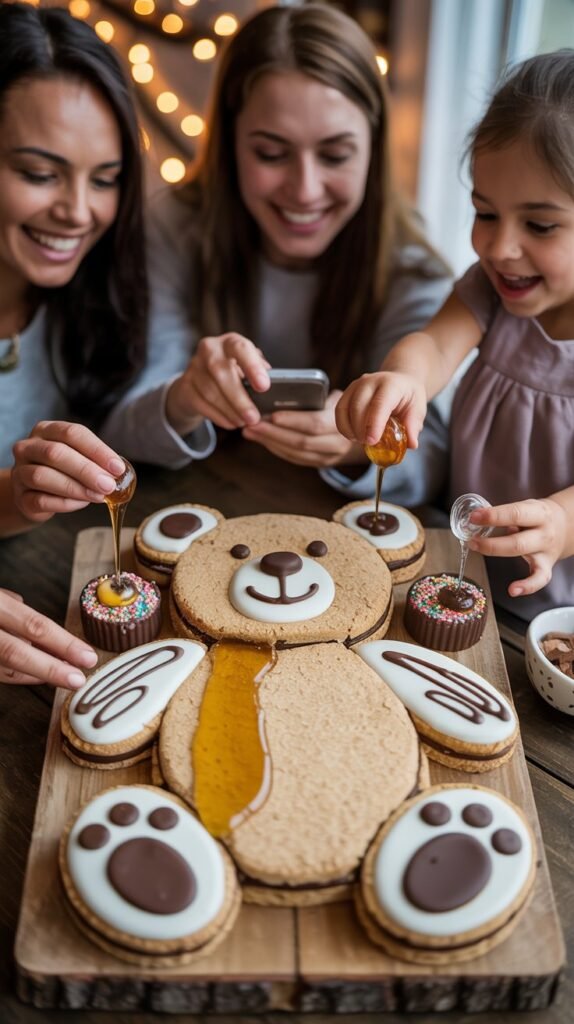
Assembly is where your teddy bear board truly comes to life! Start by placing your largest bear elements as focal points—perhaps a centerpiece bear-shaped rice krispie treat or a cluster of bear cookies.
Then build outward in groups rather than scattering individual items. Create “bear caves” using chocolate-dipped pretzels arranged in semi-circles, “honey rivers” with golden caramel sauce in shallow dishes, and “forests” of chocolate-dipped strawberries.
Remember that even the most beautiful board needs to function for actual eating—leave small pathways for serving utensils and ensure guests can take treats without destroying your entire design.
Special Themed Variations

Take your teddy bear dessert board from cute to absolutely unforgettable by selecting a specialized sub-theme that perfectly matches your celebration! These creative variations maintain the bear elements while adding another layer of thematic magic:
Teddy Bear Picnic Twist
Creating a magical outdoor-inspired experience everyone will love!
Picnic Perfection Strategy:
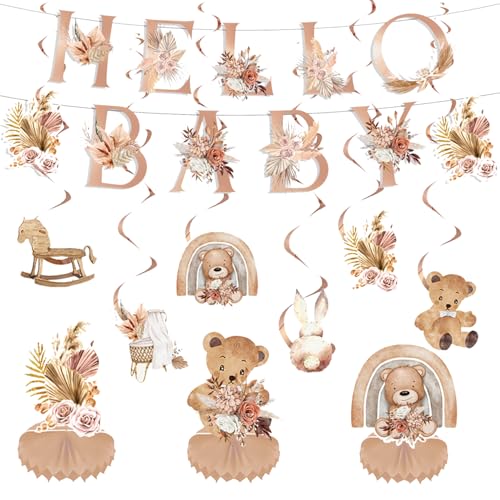
- Picnic Element Integration: Create instant theme recognition with classic gingham patterns and basket-weave textures that scream “picnic”!
- Classic Storybook Reference: Incorporate familiar elements from the beloved children’s tale for multi-generational connection
- Weather-Appropriate Selection: Choose heat-resistant treats that won’t melt or wilt if your celebration moves outdoors
- Portable Design Strategy: Design with transportation in mind for stress-free setup away from your kitchen
- Traditional Picnic Sweet Integration: Transform classic picnic desserts with bear-themed twists
- Nature-Inspired Decoration: Add woodland magic with edible flowers, cookie “grass,” and forest-inspired elements
- Interactive Storytelling Enhancement: Create treat labels with lines from the classic teddy bear picnic song
The beloved teddy bear picnic theme creates an instantly recognizable experience that connects generations through a shared childhood favorite! Arrange your board on a gingham cloth, incorporate mini picnic baskets filled with bear cookies, and add “grass” elements using green candy or edible crumbs. Weather-resistant items like firm cookies, chocolate-covered pretzels, and individually wrapped treats work perfectly for outdoor settings.
Pro tip: Create a complementary “grown-up” honey tasting station alongside your teddy bear picnic board! Offer small samples of different honey varieties with flavor note cards (wildflower, orange blossom, lavender) paired with cheese or crackers. This sophisticated addition pleases adult guests while maintaining perfect theme alignment!


Teddy Bear Slumber Party Version
Creating the coziest pajama party sweet spread ever!
Slumber Party Success Strategy:
- Comfort Food Priority: Delight guests with warm, nostalgic treats that bring back childhood bedtime memories
- Bedtime Theme Integration: Create adorable “sleeping” arrangements with cookie “pillows” and sweet “blankets”
- Late-Night Snack Consideration: Balance super-sweet options with slightly savory treats for perfect snacking
- Milk-Friendly Strategy: Feature dunking-perfect cookies and other treats that pair perfectly with warm or cold milk
- Pajama Party Connection Planning: Incorporate pajama patterns, slippers, and other sleepwear elements into your designs
- Story Time Treat Arrangement: Organize sections based on favorite bedtime stories for a literary touch
- Take-Home Element Enhancement: Provide cute “midnight snack” packages for guests to enjoy later
Transform your teddy bear dessert board into a slumber party delight with cookies decorated as bears in pajamas, hot chocolate stations with teddy-shaped marshmallows, and cookies arranged to look like bears tucked under “blankets” made from fruit leather or fondant! Create mini “beds” using rectangular cookies with rounded cookie “pillows” and teddy graham “sleepers.” This variation works beautifully for birthday sleepovers, baby showers with a nursery theme, or any gathering where cozy comfort is the goal.
Pro tip: Create different “zones” on your slumber party board based on bedtime routine steps! Start with a “bath time” section featuring blue jelly or gelatin cups with teddy graham “swimmers,” move to a “story time” area with book-shaped cookies, then a “sweet dreams” section with the sleeping bear arrangements. This interactive storytelling approach makes your board both visually interesting and conversation-starting!
Practical Tips and Techniques
Essential strategies for dessert board success.

Presentation Enhancement
Creating visually stunning results:
- Color Coordination Priority: Cohesive palette selection across all elements
- Garnish Strategy: Simple additions that elevate appearance
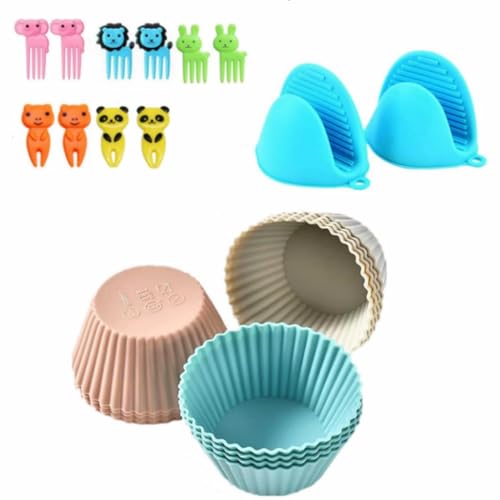
- Container Integration: Creative vessels for loose items and dips
- Labeling Consideration: Cute themed identification methods
- Lighting Enhancement: Setting the perfect ambiance for display
- Photography Planning: Creating the perfect sharing moment
- Serviceware Selection: Themed serving pieces that enhance the experience
Small details make a tremendous difference in elevating your teddy bear board from cute to spectacular! Consider dusting certain areas with powdered sugar “snow” or cocoa “dirt” to create mini environments. Use tiny honey pots (shot glasses work perfectly) for dipping sauces or loose candies. Place larger items directly on the board while containing smaller elements in bear-colored silicone cups or cupcake liners. For truly Instagram-worthy results, add a final flourish of edible gold dust to honey elements or a sprinkle of tiny star sprinkles for a touch of magic. Remember that perfect lighting—usually natural indirect light—makes all the difference for both in-person impact and photos.
Dietary Considerations
Making your board inclusive for all guests:
- Allergy-Friendly Priority: Common allergen alternatives cleverly incorporated
- Balance Strategy: Options for different dietary needs without segregation
- Clear Identification Focus: Subtle ways to mark special diet items
- Equal Appeal Consideration: Making restricted options equally tempting
- Cross-Contamination Prevention: Safe serving strategies for all guests
- Ingredient Transparency Planning: Information availability without disrupting design
- Inclusive Experience Enhancement: Ensuring everyone feels considered
Creating a truly welcoming teddy bear board means considering guests with dietary restrictions. Rather than creating a separate “allergy section” that might make guests feel excluded, integrate allergen-free options throughout your design—perhaps using a specific color of serving cup or a particular shape that indicates “safe” treats. For example, all dairy-free items could be served on square plates while all nut-free items could have a tiny green pick inserted. Consider creating a discreet legend on a small card nearby that explains your system without drawing attention to restrictions. The most thoughtful hosts ensure that diet-specific options are just as visually appealing and delicious as standard treats.


More Creative Inspiration
Looking for additional teddy bear dessert board ideas? Here’s a collection of creative concepts!
| Unique Themes | Novel Presentation Ideas | Creative Decorative Elements | Special Enhancement Concepts |
|---|---|---|---|
| Vintage Teddy Bears | Individual Mini Boards | Chocolate Bear Ears | DIY Honey Drizzle Station |
| Rainbow Bear Collection | Vertical Dessert Wall | Bear Face Fruit Arrangements | Bear-themed Chocolate Fountain |
| Seasonal Holiday Bears | Shadow Box Presentation | Edible Teddy Fur Textures | Polaroid Photo Area with Props |
| Teddy Hospital Theme | Tiered Stand Arrangement | Personalized Bear Name Tags | Take-home Teddy Treat Boxes |
| Famous Bear Characters | Dessert Charcuterie Cones | Bear Paw Stenciled Designs | Hot Chocolate Mix Bar |
| Baby’s First Teddy | Dessert Grazing Tables | Bear-shaped Serving Platters | Bear Building Activity Station |
| Teddy Tea Party | Floating Shelf Display | Teddy-sized Tea Cups | Storybook Reading Corner |
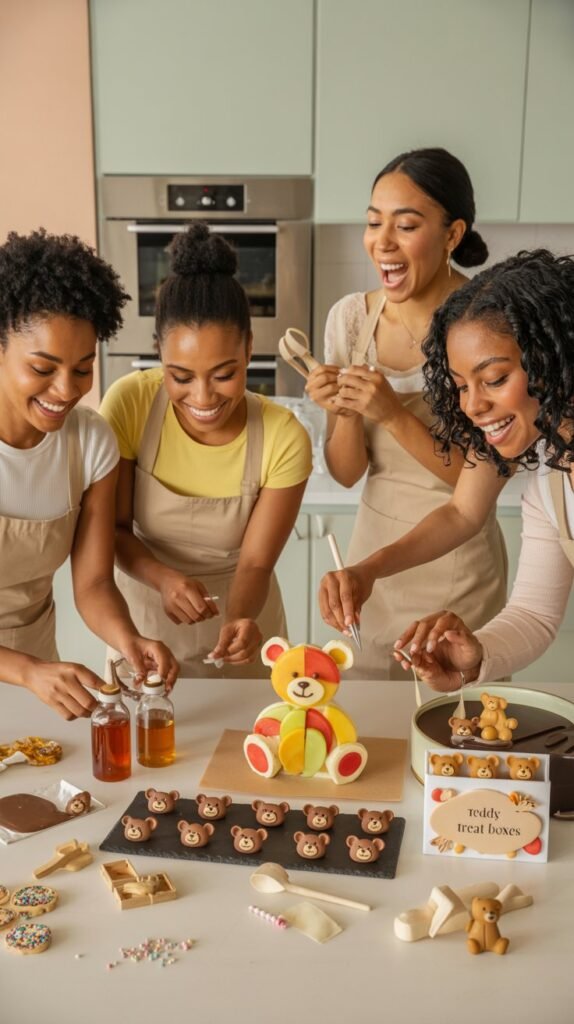
Don’t feel limited to traditional approaches! Consider unexpected twists like a “build-your-own bear” station where guests decorate large bear-shaped cookies with various frostings and toppings.
Or create a “teddy bear hospital” theme with bandage-wrapped rice krispie bears, medicine cups filled with sweet syrups, and cookie “stretchers.” Famous bear characters offer another wonderful variation—from classic Pooh Bear with honey pots to Paddington with marmalade elements or Care Bears with rainbow treats.
The joy of themed boards comes from your personal creative touch, so embrace ideas that resonate with your particular celebration!


Conclusion: Create Your Perfect Teddy Bear Sweet Celebration!
With these teddy bear dessert board ideas, you’re fully equipped to create a celebration centerpiece that feels professionally designed rather than hastily assembled! The beauty of this approach is its perfect balance between impressive presentation and actual practicality—creating a display that guests will photograph enthusiastically before happily devouring.
The magic of a teddy bear dessert board lies in its ability to evoke cherished childhood memories while creating brand new ones. When thoughtfully planned with attention to both visual appeal and delicious taste, these themed grazing boards offer uniquely effective opportunities for celebrating special occasions, encouraging interactive enjoyment, and creating picture-perfect moments that will be remembered long after the last sweet treat has been enjoyed.
For maximum impact with minimal investment, prioritize items that serve multiple purposes or transition between different uses. Quality cookie cutters become kitchen staples, serving boards enhance future entertaining, and honey products transition to everyday pantry items after the party ends!
Remember that successful themed parties don’t require implementing EVERY bear element available—sometimes strategic selection creates more sophisticated impact than overwhelming abundance. Choose a few statement pieces (perhaps the focal point bear cake and honey pot dipping station) then support with smaller touches that maintain theme consistency without crossing into teddy overload!
Thanks to Amazon’s speedy shipping options, your teddy bear dessert board vision can materialize in as little as 24-48 hours. So whether you’re planning weeks ahead or pulling together a last-minute celebration, these sweet creations are just a few clicks away from transforming your ordinary gathering into a beary special memory!
We’d love to see your teddy bear dessert board creations! Tag us @CelebrationSHE with your sweet photos and let us know which ideas became your favorites. Happy celebrating, honey!